
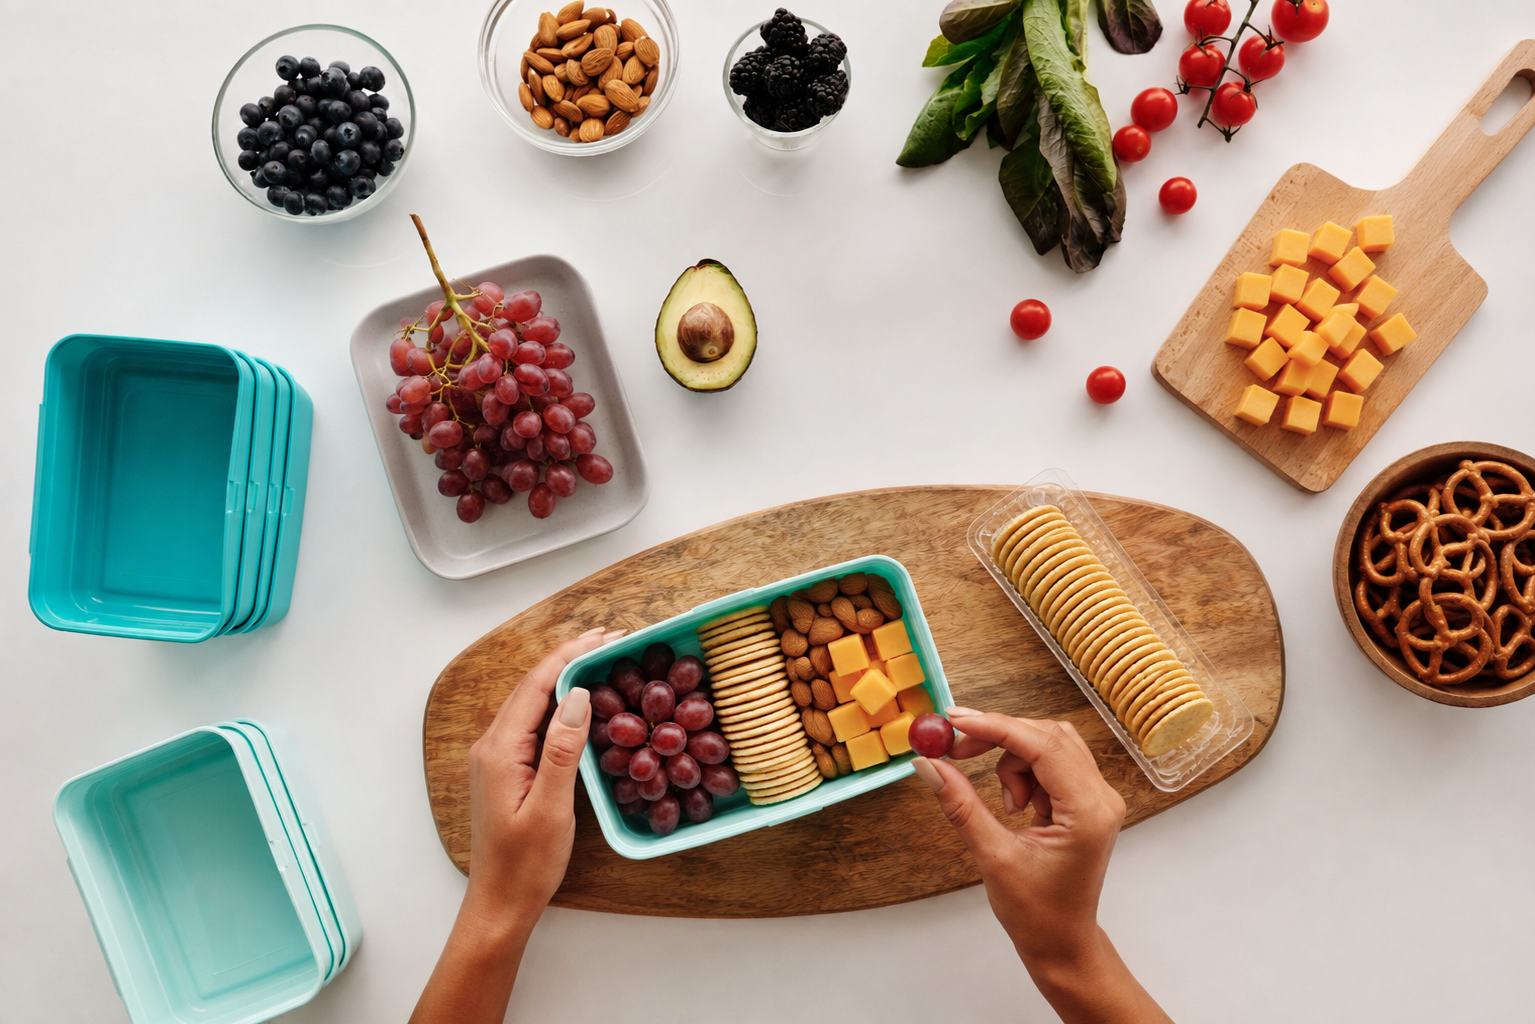
DIY Snack Packs That Cost Less Than Store-Bought Options
Store-bought snack packs are convenient, but they are overpriced in grocery stores, gas stations, and hotel markets. You’re paying for individual packaging, branding, and convenience, even when the snacks inside are inexpensive ingredients you could portion yourself for a fraction of the cost.
Learning how to make your own diy snack packs is one of the easiest ways to protect your vacation budget on the road.
This guide will help you build your own snack packs so that you can save money while still having convenient grab-and-go options ready when you need them.
Why This Earns a Spot in the Car
Snack packs help reduce impulse purchases, they keep everyone satisfied between meals, and make it easier to stick to your travel food budget.
When you do it yourself, it’s easy to customize based on dietary preferences, activity levels, and trip length. With a few affordable ingredients and reusable containers or zip top plastic bags, you can create filling snacks that cost far less than their store-bought counterparts.
What This Saves You
A simple snack break can turn into a surprisingly expensive stop when you’re on the road. Buying individual snacks one at a time can cost far more than portioned the same foods at home.
A typical convenience store snack purchase might run:
- Individual trail mix: $2-$4
- Protein or granola bar: $2-$4
- Single-serve crackers or chips: $1.50-$3
- Packaged fruit or snack box: $3-$6
Typical cost: $8-$17 per person
The same types of snacks portioned and packed from home can often cost much less:
- Homemade trail mix: $0.50-$1.50 per serving
- Granola bar or muffin: $0.25-$1 per serving
- Crackers, pretzels, or popcorn: $0.25-$1 per serving
- Fruit and vegetables: $0.50-$2 per serving
Typical cost: $1.50-$5.50 per person
That can mean about $6-$12 saved per person per day, depending on what you pack and what you would otherwise purchase.
DIY Snacks Roadmap
The best snack packs aren’t built around what looks good together, they’re built around where and when you’ll eat them.
Think about the situations you’re packing for first, then choose foods that fit.
- How long will you be in the car or at the airport?
- Will I have a cooler?
- What can my kids grab for themselves?
- Do I need something for backup? (Always yes!)
Snack Packs Worth Making
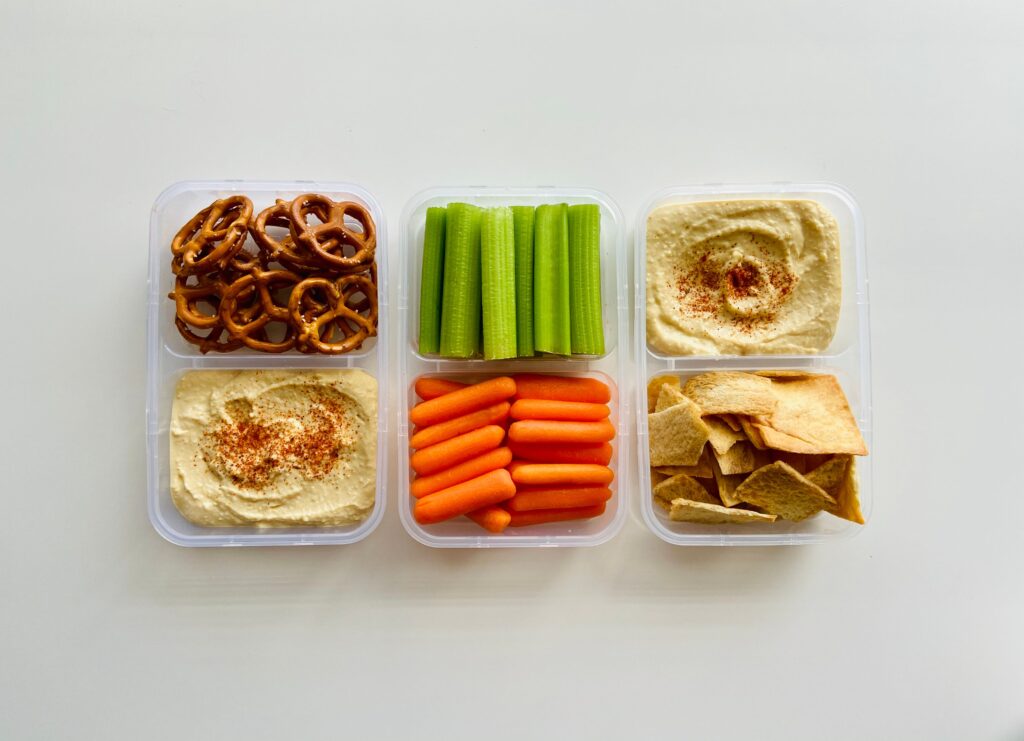
Choose foods that fit your activity, storage space, and the way you’ll actually eat throughout the day.
Keeps you full the longest:
- Cheese cubes
- Jerky
- Mixed nuts
- Peanut butter sandwich portions
Travels well without much prep:
- Carrots
- Oranges
- Pretzels
- Cherry tomatoes
- Popcorn
Worth bringing if you have a cooler:
- Vegetables and hummus
- Yogurt
- Cheese sticks
- Apple slices
- Hard-boiled eggs
Makes an affordable DIY mix:
- Pretzels
- Peanuts
- Raisins
- Dry cereal
- Chocolate chips
Here’s a Trail Mix recipe that is easy to customize.
Feels like a treat:
- Homemade muffins
- Energy bites
- Roasted chickpeas
- Crispy apple slices
- Homemade granola bars
Most all of these can be made and portioned out days in advance.
Will Travel Tip
Don’t build one “perfect” snack pack. Build snack packs that match how you’ll travel, and portion accordingly. The best combination for a road trip isn’t always the best choice for a hike, beach day, or hotel stay.
Why Smart Travelers Do This
Smart travelers know that by preparing snack packs ahead of time is the healthiest and least expensive option. Especially with kids!
Before You Hit the Road
Combine affordable ingredients to your families preferences that are filling and easy to eat whether you are in the car, or waiting at the airport.
Start by choosing a few of these to take with you and it will help cut down on spending tremendously without much prep time.